
When a tenant moves out and you find a new stain in the carpet or a dent in the fridge, there’s one question that matters: can you prove it wasn’t there when they moved in?
That’s what a move-in inspection is for. It’s one of the simplest steps in managing a rental, and it gets skipped a lot. Here’s why it matters, how we handle it at J. Scott Property Management, and how you can do it yourself if you manage your own property.
A move-in inspection is your “before” picture
A move-in inspection documents the home’s condition before the tenant takes possession. It records what the property looked like on day one, room by room and item by item, with photos.
You may not think about it again for a year or more. But it becomes very important at move-out.
Where it pays off: move-out and the security deposit

If there’s damage when the tenant leaves, your move-in inspection is the solid proof that whatever you’re charging for happened during the lease.
The goal is to have two matching records:
- A solid “before”: your written move-in inspection and photos of the home’s condition.
- A solid “after”: your move-out inspection, with any damage recorded and photographed.
With both in hand, deposit conversations get much easier. If a resident disputes a charge, you can show them the before and after side by side, and that usually settles it.
If a resident takes it further, for example to small claims court, that documentation is exactly what you’ll need to back up the deductions from their deposit. Without it, it’s your word against theirs.
How we do move-in inspections at J. Scott Property Management
We manage a lot of homes, so we use a phone app that works like a written move-in inspection form. You don’t need an app to do this well, though. The process is what counts.
1. Go room by room and note what’s already there
We walk through the home one room at a time and record anything that’s already there, such as a dent in the fridge or a stain in the carpet. Each note is tied to a room and area, like “Living room, flooring: stain in carpet.”
Then we photograph it, so it’s clearly on record as already there and not something the tenant should be charged for. That protects both sides. If more stains show up later, we can point out that there was only one at move-in and the others are new.
2. Photograph each room from every corner
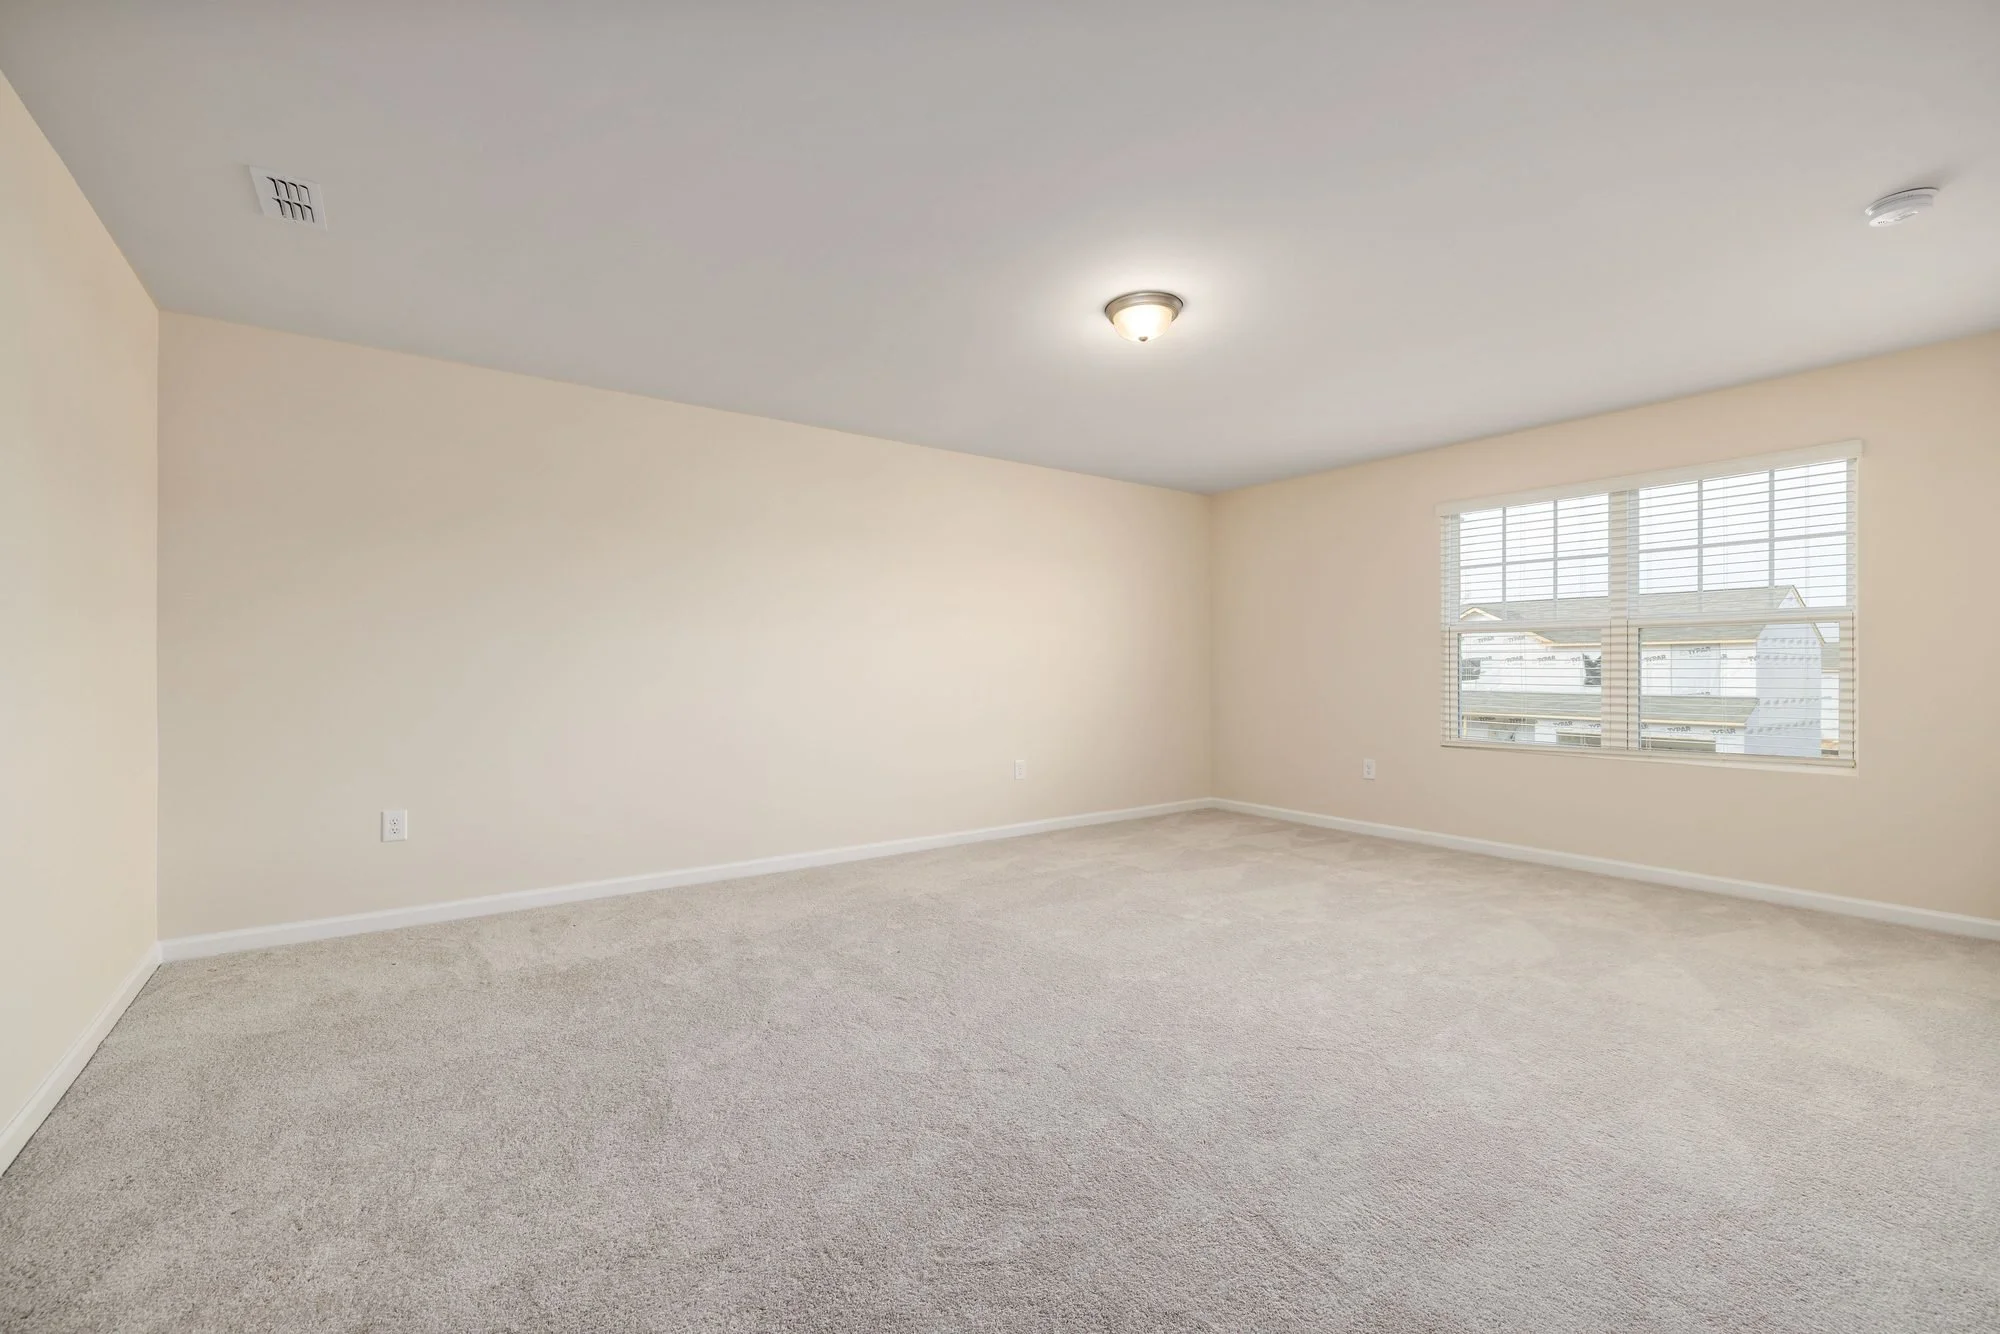
Next, we stand in each corner of the room and take a wide photo. These shots aren’t meant for close-up detail, though you can often zoom in. Their job is to show everything.
They’re a good backup. Say a set of broken blinds was missed in the detail photos. When you look back at the wide shots later, things like that stand out. We do this for every room.
3. Record your appliances and systems

We also write down the make, model and serial number of each appliance. Where we can, we note filter details too, like the RO system filter, the fridge filter and the air filter sizes. We also photograph the water heater, so we know whether it’s electric or gas and how many gallons it holds.
This helps long after move-in day:
- Faster repairs. When a resident calls about a problem with the fridge, we pull up the make, model and serial number and send them to the appliance repair company. That often gets us useful answers quickly.
- Proof if something gets swapped. If an appliance is ever stolen or swapped out, the serial numbers prove the one in the home isn’t the one that was there at move-in.
Managing your own rental? Here’s how to do the same thing
You don’t need special software. Here’s a simple version of our process:
- Pick a good form. There are plenty of solid move-in and move-out inspection templates out there, so find a thorough one you like. If none fit, make your own in Excel or Word.
- Walk the home before move-in. Go through each room, write down its condition, and note any issues.
- Take photos. Take close-ups of specific issues and a wide shot of each room. If you can, turn on time and date stamps, so you can point to a photo and say, “This is how it looked in March.”
- Keep it organized. Make a folder on your computer for each tenant with their lease paperwork. Inside it, make a move-in folder with all the photos and a copy of the inspection, so everything is in one place when you need it.
- Use the same form at move-out. Some forms have move-in and move-out columns side by side, so you can see right away what was already there and what’s new.
The bottom line
A move-in inspection takes a little time up front and saves a lot of headaches later. It gives you a clear before and after, makes deposit conversations simpler, and gives you the documentation you need if a dispute goes further. It also leaves you with a record of the home that helps with repairs for years.
Want this handled for you?
At J. Scott Property Management, detailed move-in inspections are part of how we take care of the homes we manage and the owners we work with. If you have questions about inspections or about managing your rental in the Phoenix area, we’re here to help.
Reach out to J. Scott Property Management and let’s talk about your property.